
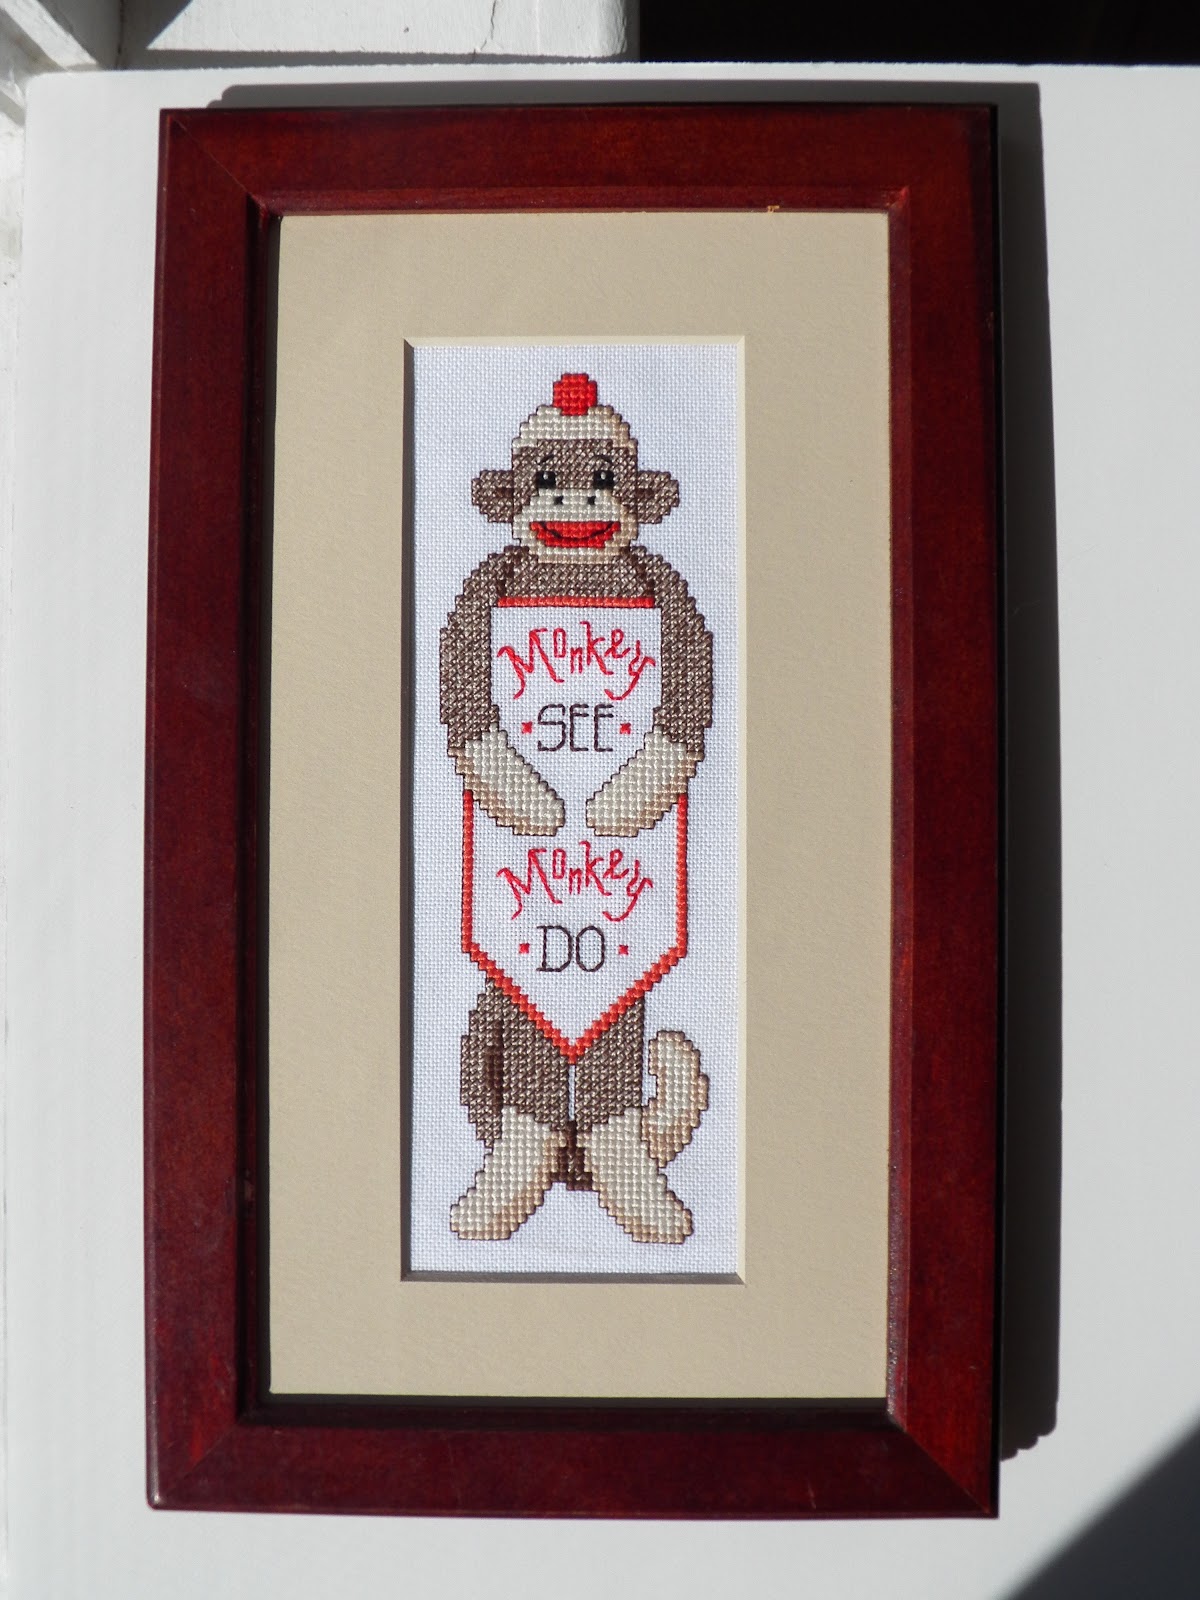
However, I wanted to finally get this tutorial posted. As you might recall, I finished a cross stitched sock monkey some time ago that was originally intended to be a bookmark, but I decided to frame him instead because he was just so darn cute. Unfortunately, because he was so long and narrow (you know, like most bookmarks are), it was tough to find a frame that would fit him. I was having trouble justifying spending beaucoup d'argent on a custom-made frame for such a small piece, so when I found a jewelry box at Goodwill that looked to be about the right size, I decided I would try to turn it into a picture frame. And - it worked! Here's how I did it.
Here are "before" pictures of the jewelry box and the monkey. (Hey, 1985 called - they want their jewelry box back!)


The jewelry box lid comprises the following layers, from outside in: a wooden frame, tapestry and padding, a backboard, a layer of glue, and a mirror. So, the first order of business was to remove the mirror from the inside of the lid. Disclaimer: you may want to wear leather gloves and goggles for this part. I removed the mirror by sticking a table knife under the mirror and gently prying it from the backboard. DO THIS SLOWLY AND CAREFULLY! If you are not patient, you could shatter the mirror and really screw up your hands (or eyes, hence the safety disclaimer above). This jewelry box was probably about 20 years old, so the glue was not quite as strong as it might have been 20 years ago (thank God).

This view shows the glue attaching the mirror to the back board and how I carefully used the knife to pry off the mirror. You are looking down between the back board (top, light brown) and the mirror (bottom, blue-ish), parallel to the long axis of the jewelry box.

A word of caution: the glue was very difficult to remove from my shiny table knife after I finished removing the mirror! You may either want to use an old piece of flatware that you can throw away or make sure you have some kind of solvent (paint thinner, maybe?) around to help remove the glue if you are using a "real" knife.
Here is what the inside of the lid looks like without the mirror. This is the back board - you can still see remnants of wood glue.
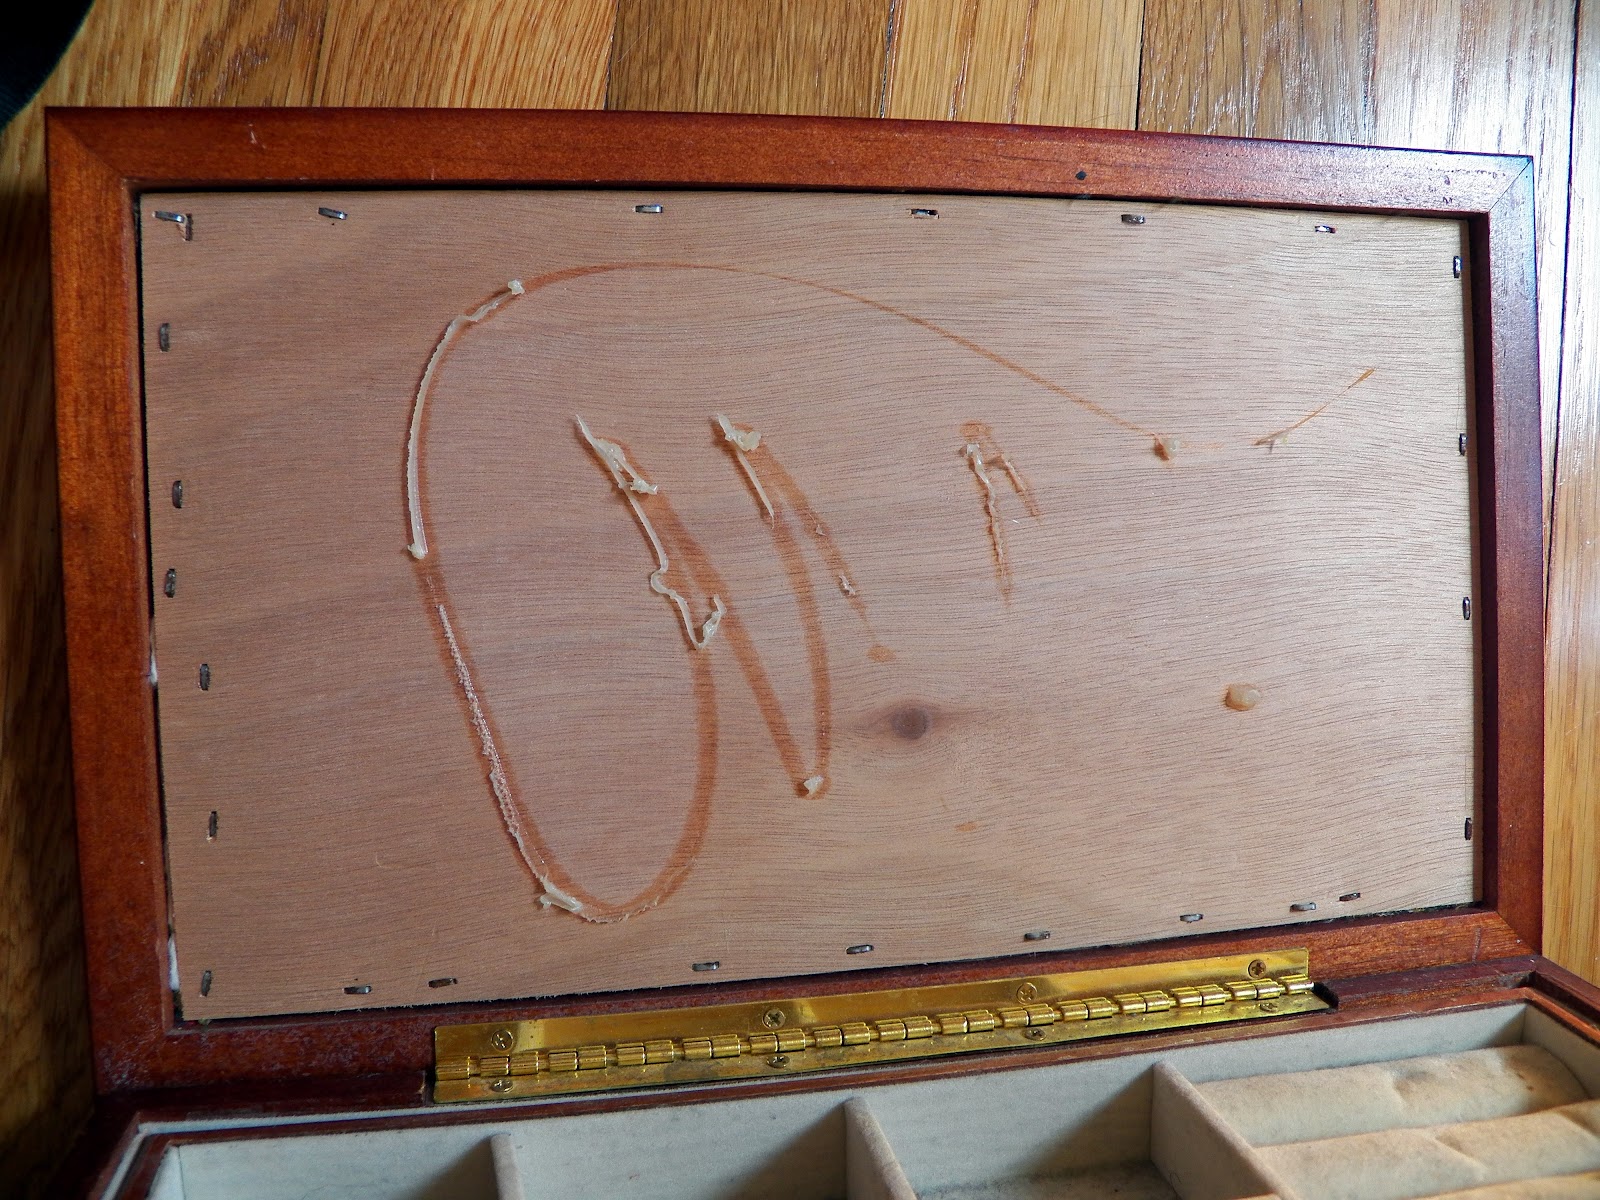
You can see staples around the edge of the back board. These staples go through the back board, the padding, and the tapestry fabric, attaching all of the layers to the inside edge of the frame.

I removed the back board and the tapestry and padding by gently pressing around the outside edge of the frame (i.e., pressing the fabric down into the jewelry box from the outside) to release the staples.

You can see the cross section here: the tapestry fabric and the padding are sandwiched between the back board (top, yellowish) and the frame (bottom, red-brown).

Some staples pulled through the fabric and the back board, so I used pliers to remove them from the frame.

Finally, I used a Phillips-head screwdriver to remove the hinge from the lid.

Ta da! Here is what the "naked" frame looks like, once the mirror, back board, tapestry fabric, staples, and hinge have all been removed.


I think he looks quite adorable! :)
So, there you go! For small or irregularly shaped pieces, it really makes a lot of sense to try to find frames wherever you can, instead of paying to have a frame shop make a custom frame for you. Maybe you will find a frame in an unexpected place, too!
Thanks for reading and for all of your thoughtful comments. I hope this little project breaks up the monotony of your Monday!
-Erin
Less Bitching, More Stitching!
That is a great idea! The framing looks great - almost new.
ReplyDelete